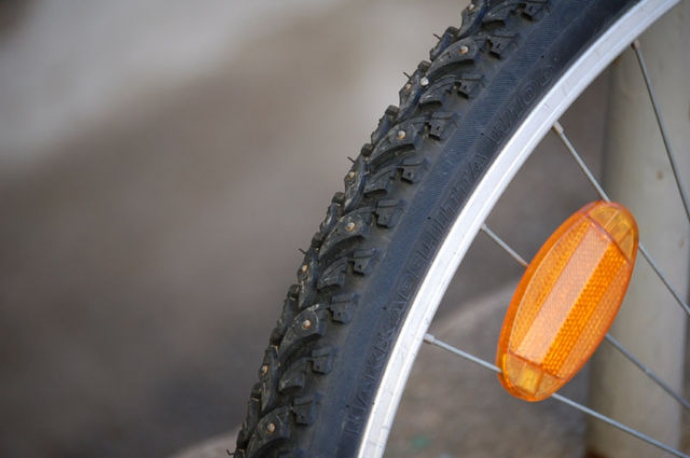
Whether you ride infrequently, have a rental bike, only ride on paved surfaces or you are the luckiest person in the world, you will get a puncture at some point. That said, it's important you know how to repair a puncture so you can deal with the flat, and get back on the bike and cycling again. Firstly it is important to remember to carry a puncture repair kit in your bike tool bag. It's a good idea to practice this at home prior to cycling so you have an understanding of
It's a good idea to practice the following at home prior to cycling so you have an understawhat's of whats involved and some practical experience.
Step 1 - Remove the tube
Your tyre is made up of two parts - an outer tyre and an inner tube. The inner tube is what we need to repair so we need to remove the inner tube from the tyre.
The best way to do this is using some tyre levers which are a tool specifically designed to fit between the tyre bead and the rim. They help you remove the tyre using a lever action.
Once you have your first lever in position you then use a second lever not to far from the first and repeat the action while holding lever 1 in position. Getting the first part of the tyre can be tough but once you have the first little bit out, the rest is easy.
Now just slide the lever all the way around the rim and the rest of the tyre should just come off the rim easily allowing you to remove the tube.
Step 2 - Find the puncture
Have a good look around the tube and see if you can identify the puncture location.
Sometimes ther're easy to spot. If not put some air into the tube and then listen closely, and feel the tube all over to identify the puncture.
Lastly if that does'nt work you can again put some air into the tube and submerge sections of the tube systematically in water and see where the bubbles are coming from.
Step 3 - Repairing the Tube
In your puncture repair kit you should have a small piece of sandpaper, the repair patch and some glue.
The first step to lightly rub the area where the patch is to be applied over the puncture. This is to provide a rough surface for the glue to bond to. Next apply the glue to the tube.
You need to apply it the same size as the patch. You need to wait a short period of time for the glue to become tacky before applying the repair patch, so while waiting you can remove the patch from its packaging and get ready to apply it. Be sure no to touch or get dirt on the patch surface that will bond with the glue.
Now that the glue is tacky you can apply the patch. Make sure the surface of the tube is nice and smooth and there are no ripples in the rubber. Now hold the patch down and apply pressure for a couple of minutes. Now pump some air into the tube and check that it has been successful.

CC BY-SA 2.5, https://commons.wikimedia.org
Step 4 - Placing the tube back in the tyre
Before starting check that there is nothing sharp that has remained in your tyre that can again puncture your tyre. If thats all clear you should deflate the tube and place it back in the tyre. Now just push your tyre back onto the rim using the levers and jsut inflate the tyre and you are good to go.


